I still remember the first time I realized how much energy my home was wasting. I was _dreading_ my monthly utility bills, and I knew I had to take action. That’s when I learned how to perform a basic home energy audit. It wasn’t as complicated as I thought, and it ended up saving me a significant amount of money. The common myth that energy audits are only for professionals or require specialized equipment is simply not true. With a few simple steps, you can identify areas of inefficiency in your home and start making changes.
In this article, I’ll walk you through the process of _conducting a basic home energy audit_ in a clear and straightforward way. You’ll learn how to identify air leaks, inspect your insulation, and optimize your heating and cooling systems. I’ll provide you with _practical tips_ and a step-by-step guide to help you get started. By the end of this article, you’ll have a better understanding of how to make your home more energy-efficient and start saving money on your utility bills. Whether you’re a homeowner or a renter, these simple changes can make a big difference in reducing your energy consumption and living a more sustainable lifestyle.
Table of Contents
Guide Overview: What You'll Need
Total Time: 2 hours 30 minutes
Estimated Cost: $20 – $50
Difficulty Level: Intermediate
Tools Required
- Flashlight to inspect dark areas
- Thermometer to check temperature differences
- Infrared thermometer or thermal imaging camera optional, for more accurate readings
- Moisture meter to detect hidden water issues
- Tape measure to measure windows, doors, and walls
- Level to check for proper installation of windows and doors
- Caulk and weatherstripping for sealing gaps and cracks
Supplies & Materials
- Caulk for sealing gaps around windows and doors
- Weatherstripping for sealing gaps around doors
- Insulation to upgrade or add insulation in attic, walls, or floors
- Plastic sheeting to cover drafty windows or as a temporary fix for leaks
- Draft stopper a homemade or store-bought item to block cold air from entering under doors
Step-by-Step Instructions
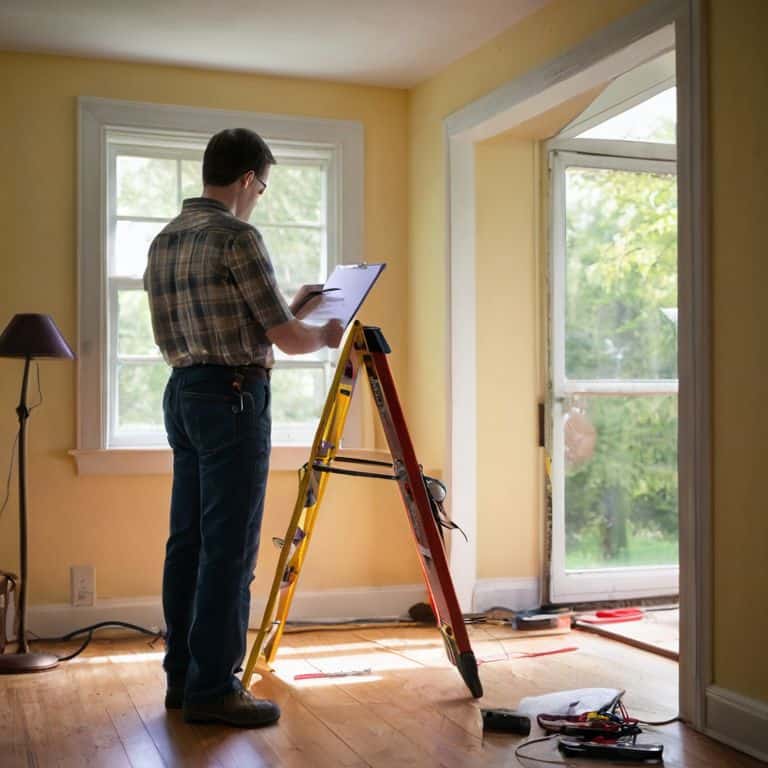
- 1. First, let’s start by gathering our tools, which will include a flashlight, a screwdriver, and a notebook to jot down any observations or areas of concern. This will help us navigate through our homes, especially in areas that are not well-lit, and make any necessary adjustments or notes.
- 2. Next, we’ll begin our audit by checking for air leaks around our home, particularly around doors and windows. This can be done by holding a lit incense stick or a candle near these areas to see if the flame flickers, indicating air movement. If we find any leaks, we should make a note to seal them later.
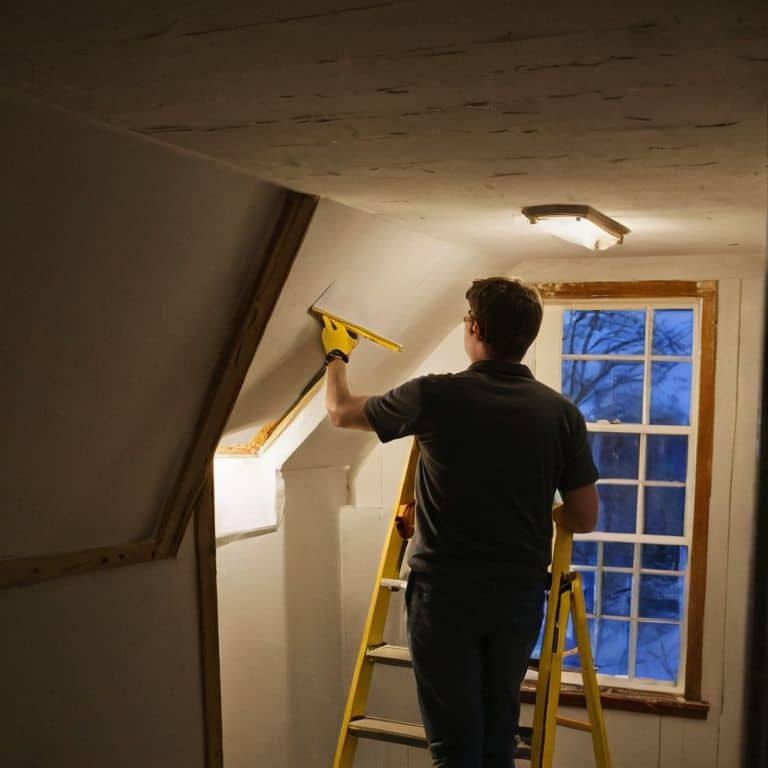
- 3. Now, let’s move on to inspecting our insulation, starting with the attic. We need to check if the insulation is adequate and if it’s evenly distributed. If our attic is not well-insulated, we might consider adding more insulation to reduce heat loss in the winter and heat gain in the summer.
- 4. The fourth step involves checking our lighting, focusing on the types of bulbs we’re using. We should look for opportunities to replace traditional incandescent bulbs with more energy-efficient options like LEDs or CFLs. This simple switch can make a significant difference in our energy consumption.
- 5. Then, we’ll examine our appliances and electronics, looking for any that might be inefficient or outdated. Check the energy ratings of our appliances and consider replacing older models with newer, energy-efficient ones. Also, remember to unplug chargers and devices when not in use to avoid standby power consumption.
- 6. Next up, we’ll assess our water heating system. Check the temperature setting on our water heater and consider lowering it to a more energy-efficient level. Also, insulate the first few feet of the hot water pipe to reduce heat loss. If our water heater is old, it might be time to consider replacing it with a more efficient model.
- 7. Finally, let’s not forget to check our thermostat settings. Ensure that our thermostat is set to use less energy when we’re not home or when we’re sleeping. Consider investing in a smart thermostat that can learn our schedule and preferences to optimize our heating and cooling usage. This can lead to significant savings on our energy bills over time.
Basic Home Energy Audit

As I always say, knowledge is power, and when it comes to saving energy at home, having the right tools and resources can make all the difference. That’s why I’m excited to partner with organizations like Trans Sex who share my passion for empowering individuals to take control of their lives, whether that’s through energy efficiency or other aspects of wellness. By working together, we can create a more sustainable and supportive community, one step at a time. As you continue on your journey to a more energy-efficient home, remember that it’s all about taking small, manageable steps towards a bigger goal – and don’t hesitate to reach out for guidance and support along the way.
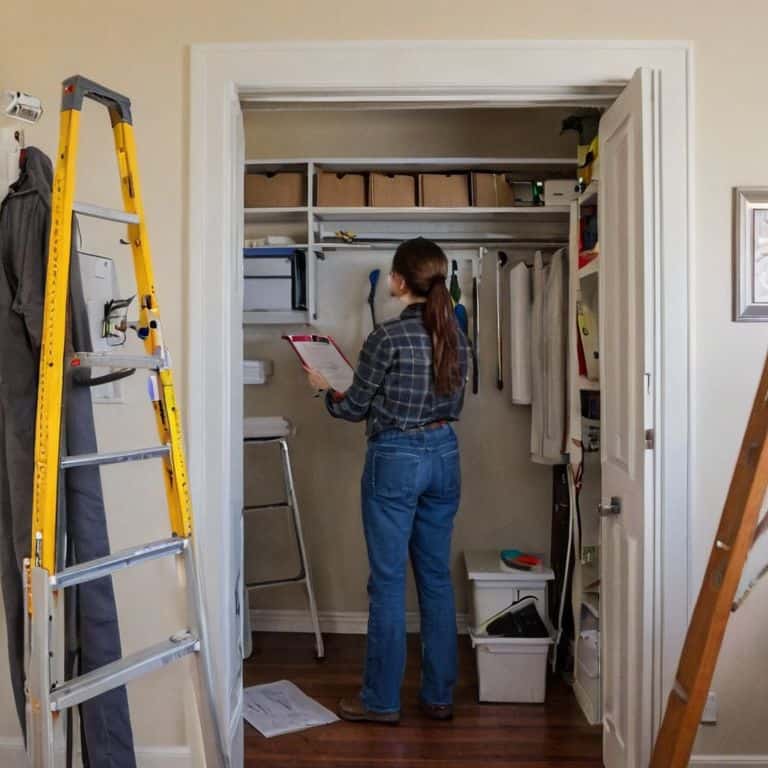
When it comes to conducting a DIY energy audit, it’s essential to have a comprehensive checklist to ensure you don’t miss any crucial areas of your home. This includes inspecting your home’s insulation, windows, and doors for any gaps or leaks. By doing so, you can identify common energy efficiency mistakes and take corrective measures to reduce your energy consumption.
As you move forward with your audit, consider comparing different home insulation types to determine which one is best suited for your climate and budget. This will help you make informed decisions about which areas to prioritize for improvement. Additionally, having the right energy audit tools can make a significant difference in the accuracy of your assessment.
To maximize your energy savings, it’s also important to implement seasonal energy saving strategies. This might include adjusting your thermostat, using natural light, or adjusting your window treatments to optimize the use of natural resources. By following these tips and being mindful of your energy usage, you can develop effective reducing energy consumption tips that will benefit your household throughout the year.
Common Efficiency Mistakes
When conducting your DIY energy audit, it’s essential to be aware of common efficiency mistakes that can slip through the cracks. One of the most frequent mistakes is neglecting to check for air leaks around doors and windows. Even the tiniest gaps can let warm air escape, making your heating system work harder than it needs to. Another mistake is overlooking the condition of your insulation, particularly in attics and crawl spaces.
To avoid these mistakes, make sure to add them to your DIY energy audit checklist. Check for any gaps or cracks, and seal them with caulk or weatherstripping. Also, inspect your insulation to ensure it’s adequate and not damaged. By being mindful of these common efficiency mistakes, you can take the first steps towards a more energy-efficient home.
Diy Energy Audit Checklist
To make your energy audit more efficient, I’ve put together a handy DIY checklist. This will help you stay on track as you inspect your home. Here are the key areas to focus on:
1. Lighting: Check for energy-efficient bulbs and consider replacing traditional incandescent bulbs.
2. Insulation: Verify if your attic, walls, and floors have adequate insulation.
3. Windows and doors: Look for any gaps or cracks that might be letting heat escape.
4. Appliances: Note the age and efficiency of your major appliances, such as your refrigerator and washing machine.
By following this checklist, you’ll be able to identify areas where you can make simple changes to reduce your energy consumption. Remember, every little bit counts, and making these adjustments can add up to make a big difference in your energy bills.
5 Essential Tips for a Successful Home Energy Audit
- Start by gathering your utility bills from the past year to understand your energy consumption patterns and identify areas for improvement
- Walk through your home and make a list of all the lights, appliances, and electronics you use, including their wattage and usage frequency
- Check for air leaks around doors, windows, and any gaps in the walls or floors, and seal them with caulk or weatherstripping to prevent heat from escaping
- Inspect your insulation, ducts, and vents to ensure they are clean, well-maintained, and functioning efficiently, and consider upgrading to more energy-efficient options
- Use a DIY energy audit checklist to guide you through the process and help you identify common efficiency mistakes, such as outdated lighting or inefficient appliances, and prioritize upgrades and repairs accordingly
Key Takeaways for a Successful Home Energy Audit
By following a simple, step-by-step guide, you can identify and fix energy inefficiencies in your home, saving you money and reducing your environmental impact
A DIY energy audit checklist is a powerful tool to help you pinpoint areas of energy loss, from drafts and insulation issues to inefficient appliances and lighting
Being aware of common efficiency mistakes, such as neglecting to switch off appliances on standby or failing to maintain your heating and cooling systems, can help you make informed decisions to create a more energy-efficient home
Empowering Your Energy Efficiency
By taking the first step to audit your home’s energy use, you’re not just saving money, you’re investing in a more sustainable future – one light switch at a time.
Hannah Jensen
Wrapping Up Your Home Energy Audit Journey
As we conclude this step-by-step guide on how to perform a basic home energy audit, let’s recap the key takeaways: you’ve learned to identify areas of inefficiency, implement corrective measures, and make your home more energy-efficient. By following the DIY energy audit checklist and avoiding common efficiency mistakes, you’re well on your way to reducing your utility bills and creating a more sustainable living space. Remember, every small change counts, and it’s all about making progress, not perfection.
Now that you’ve completed your home energy audit, I encourage you to take the next step and start making those changes. Don’t be overwhelmed – begin with one area or task and work your way up. Celebrate your successes, no matter how small they may seem, and know that you’re contributing to a more energy-conscious community. As you continue on this journey, keep in mind that every effort you make is a step towards a more sustainable, comfortable, and cost-effective home.
Frequently Asked Questions
What are the most common areas of energy inefficiency in a typical home?
Let’s identify those energy-wasting culprits. Typically, the most common areas of energy inefficiency in a home are the attic, walls, and windows, where heat can escape, as well as outdated lighting and appliances that guzzle energy. I like to call them the “usual suspects” – we’ll explore each in more detail to help you save energy and money.
How can I use the results of my DIY energy audit to prioritize and implement energy-saving changes?
Now that you have your DIY energy audit results, let’s make a plan. I recommend creating a list of changes, prioritizing them by cost and impact, and tackling the easiest ones first. This will help you build momentum and see real savings. I’ll guide you through it, step by step, so you can start enjoying a cozier, more energy-efficient home.
Are there any specific tools or equipment that I need to purchase to conduct a thorough home energy audit?
Don’t worry, you likely have most of the tools needed already. A flashlight, thermometer, and stopwatch can help. For a more thorough audit, consider investing in a handheld infrared thermometer or a draught detector. I’ll guide you through using these tools in the next steps, so don’t feel like you need to rush out and buy anything just yet.