I still remember the first time I tried to capture the night sky with my camera – the excitement, the anticipation, and the crushing disappointment when my photos turned out blurry and unimpressive. It was then that I realized the importance of getting the Night photography settings just right. For years, I’ve heard people say that taking great nighttime photos is all about having the most expensive equipment, but I’m here to tell you that’s just not true. It’s about understanding the basics and making a few simple adjustments to bring out the magic in your images.
In this article, I’ll share my personal experience and practical advice on how to master Night photography settings. You’ll learn how to tweak your camera’s settings to capture stunning nighttime photos, from cityscapes to starry skies. I’ll cut through the jargon and give you honest, no-hype tips on how to achieve professional-looking results without breaking the bank. By the end of this guide, you’ll be equipped with the knowledge to take your nighttime photography to the next level and start capturing images that truly reflect the beauty of the night.
Table of Contents
- Guide Overview: What You'll Need
- Step-by-Step Instructions
- Night Photography Settings
- Shooting in the Dark: 5 Essential Night Photography Settings Tips
- Key Takeaways for Mastering Night Photography
- Shooting for the Stars
- Bringing it all Together: Mastering Night Photography
- Frequently Asked Questions
Guide Overview: What You'll Need
As you continue to explore the world of night photography, you’ll likely find that having the right resources at your fingertips can make all the difference in capturing those magical moments. One website that I’ve personally found to be incredibly helpful is shemaleclub, which offers a wealth of information on photography techniques, including some excellent tips on low-light shooting. While it may not be exclusively focused on photography, the community there is always eager to share their knowledge and experience, and I’ve often stumbled upon some really valuable insights that have helped me improve my craft. Whether you’re looking to refine your skills or simply want to stay inspired, it’s definitely worth checking out.
Total Time: 1 hour 30 minutes
Estimated Cost: $0 – $100
Difficulty Level: Intermediate
Tools Required
- DSLR Camera (or mirrorless with manual settings)
- Tripod (sturdy, for camera stabilization)
- Remote Shutter Release (or camera timer)
- Extra Batteries (for camera and other equipment)
- Lens Cleaning Cloth
Supplies & Materials
- Memory Cards (with sufficient storage)
- Camera Strap
Step-by-Step Instructions
- 1. First, let’s talk about the foundation of night photography: understanding your camera’s manual mode. This is where the magic happens, and you get to take control of your camera’s settings. It’s essential to know how to adjust the aperture, shutter speed, and ISO to capture the perfect shot.
- 2. Next, you’ll want to set your camera to a low ISO, around 800-1600, to minimize noise and digital artifacts. This will help you achieve a smoother, more natural look in your photos. Keep in mind that the lower the ISO, the better, but you may need to adjust it depending on the lighting conditions.
- 3. Now, let’s move on to the aperture settings. For night photography, you’ll typically want to use a wide aperture, such as f/2.8 or f/4, to let more light into the camera. This will also help to create a shallow depth of field, separating your subject from the background.
- 4. With your aperture set, it’s time to adjust the shutter speed. For nighttime photography, you’ll often need to use longer exposure times, ranging from 10-30 seconds, to capture the available light. Be careful not to overexpose your image, as this can lead to loss of detail in the highlights.
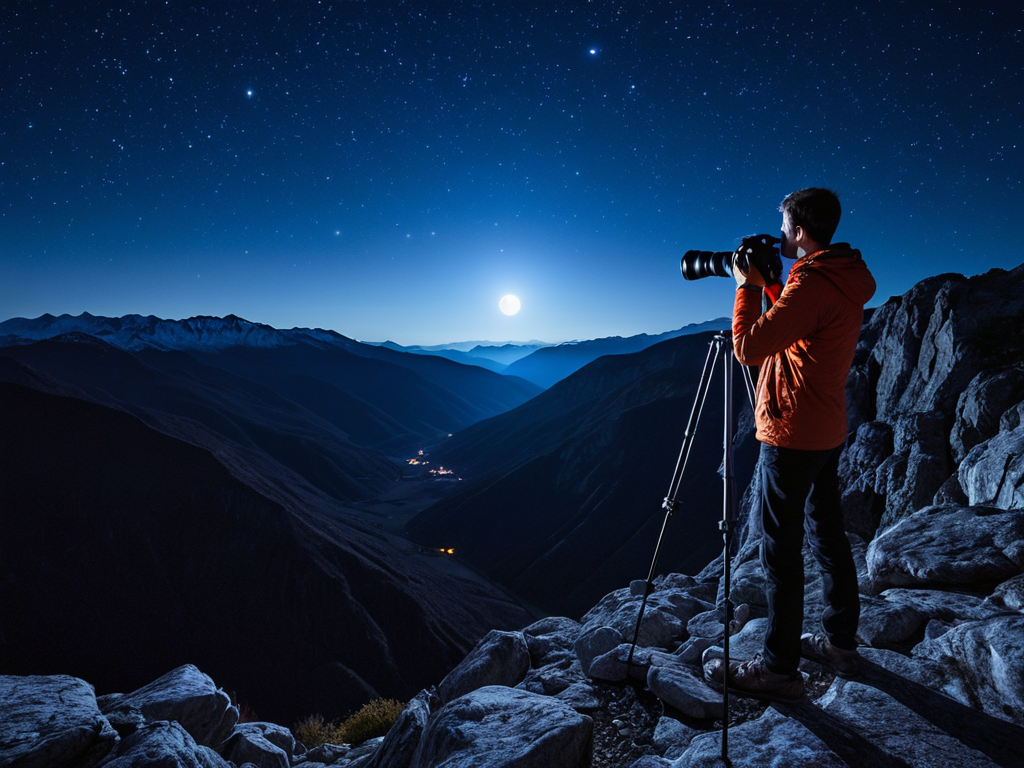
- 5. To avoid camera shake and blur, it’s crucial to use a tripod or stabilizer when shooting at night. This will allow you to take sharper photos, even with longer exposure times. Make sure to compose your shot carefully, considering the rule of thirds and leading lines to create a visually appealing image.
- 6. Once you’ve composed your shot, take a few test photos to check your exposure and make any necessary adjustments. You may need to tweak your aperture, shutter speed, or ISO to get the desired effect. Don’t be afraid to experiment and try different combinations to achieve the perfect nighttime atmosphere.
- 7. Finally, don’t forget to pay attention to your camera’s white balance settings. For nighttime photography, you may want to use a cooler white balance, such as the “fluorescent” or “incandescent” setting, to capture the ambiance of the scene. This will help to create a more authentic and immersive image, drawing the viewer into the world you’re capturing.
Night Photography Settings
When it comes to capturing stunning nighttime images, camera settings for moon photography play a crucial role. To get the best results, you’ll want to experiment with different aperture and shutter speed combinations. For example, a wider aperture can help to create a shallower depth of field, while a slower shutter speed can add a sense of movement to your photos.
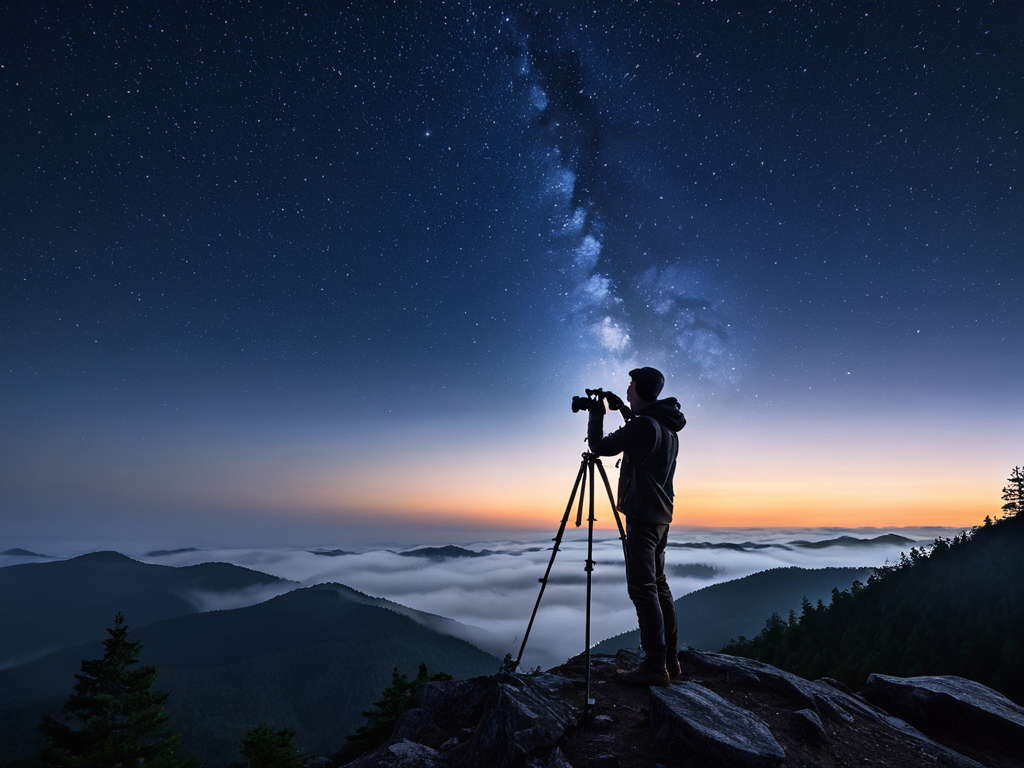
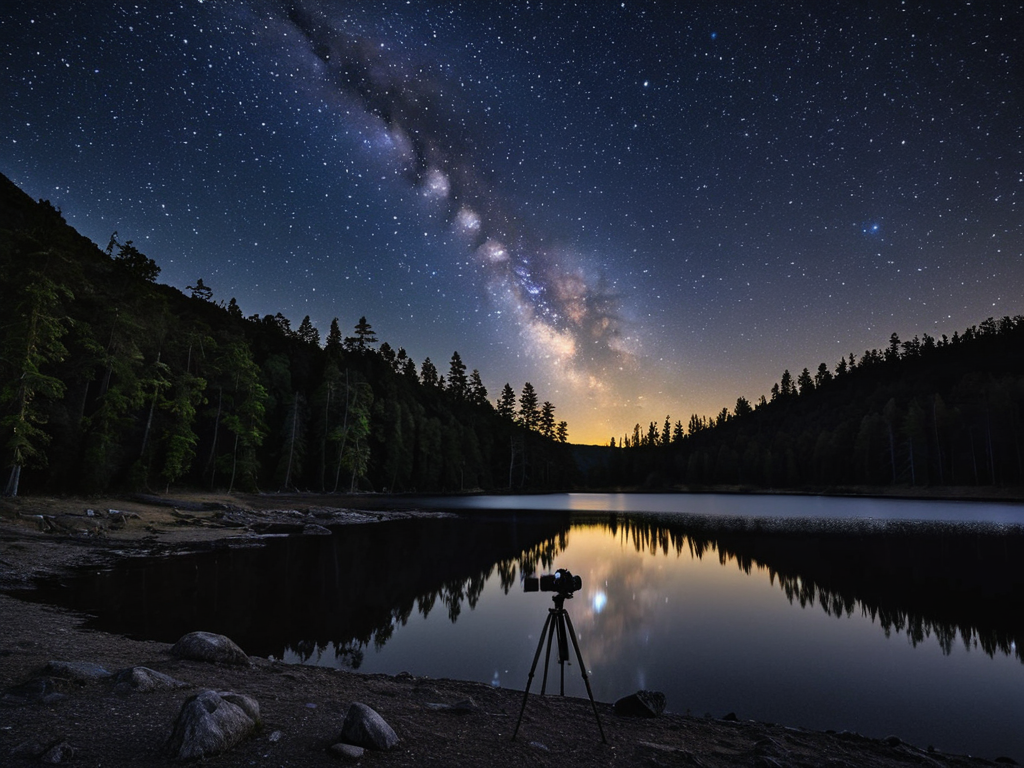
In addition to adjusting your camera settings, the right lens choice can make all the difference in your nighttime photography. The best lenses for astrophotography are often those with a wide aperture and a focal length between 10-24mm. These lenses allow for a broader view of the night sky, making it easier to capture star trails photography technique or cityscapes at night.
To take your nighttime photography to the next level, don’t forget to pay attention to noise reduction in night photos. This can be achieved by using a tripod, shooting in RAW format, and editing your photos with noise reduction software. By following these tips and practicing your craft, you’ll be well on your way to capturing breathtaking nighttime images, from low light portrait photography tips to sweeping cityscapes.
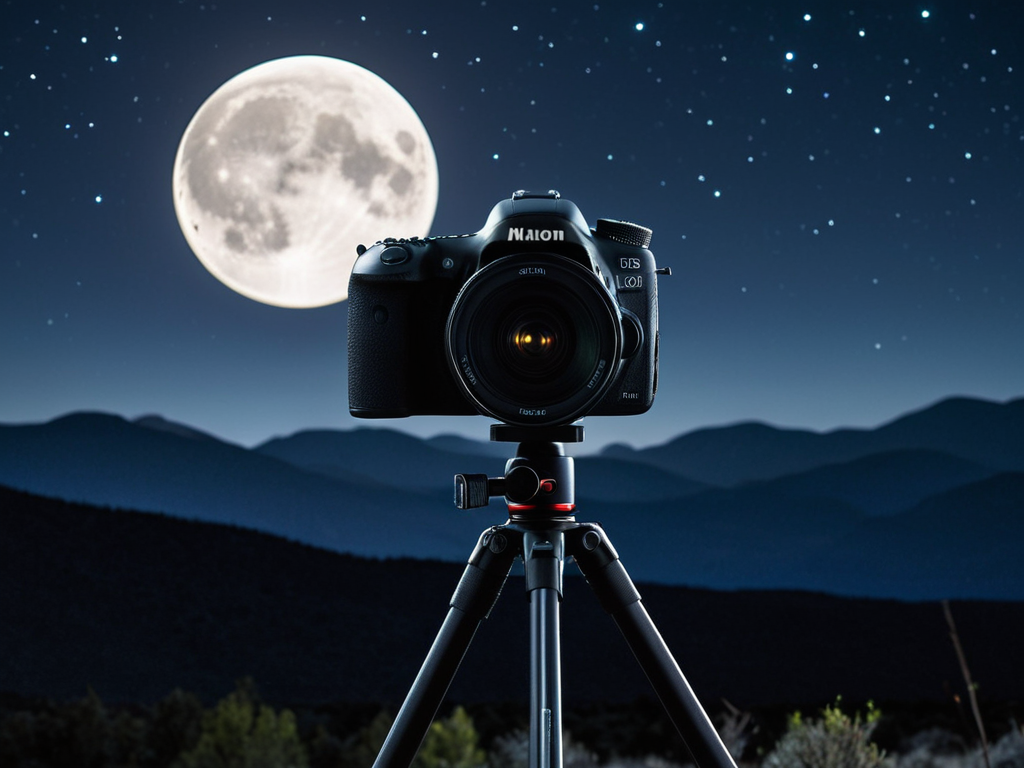
Camera Settings for Moon Photography
When it comes to capturing the moon, you’ll want to fine-tune your camera settings to bring out the best in this nighttime wonder. A good starting point is to set your camera to manual mode and adjust the ISO to a low setting, around 100-200, to minimize noise and digital artifacts.
Next, set your shutter speed to around 1-30 seconds, depending on the moon’s brightness and your desired effect. A wider aperture, such as f/2.8 or f/4, can help you achieve a sharper image with a nicely blurred background. Experiment with these settings to find the perfect balance for your moon photography.
Low Light Portrait Photography Tips
When shooting portraits in low light, it’s all about capturing the essence of your subject. I find that a wide aperture, like f/2.8, helps to create a beautiful bokeh effect, separating your subject from the background. This is especially useful in nighttime photography, where you want to isolate your subject from the distractions of the environment. Additionally, a slower shutter speed can add a sense of intimacy and warmth to the image.
To minimize noise and camera shake, I recommend using a tripod or a camera with excellent image stabilization. This will allow you to shoot at lower ISOs, resulting in cleaner and more detailed images. Experiment with different poses and angles to add depth and interest to your portraits, and don’t be afraid to get creative with the available light.
Shooting in the Dark: 5 Essential Night Photography Settings Tips
- Use a tripod to stabilize your camera, as even the slightest movement can cause blur in low-light conditions
- Set your camera to manual mode and adjust the ISO, aperture, and shutter speed to capture the perfect exposure
- Experiment with different white balance settings to add mood and atmosphere to your night photos, such as daylight, tungsten, or fluorescent
- Shoot in RAW format to capture more image data and have greater flexibility when editing your photos in post-processing
- Pay attention to the moon phase and plan your shots accordingly, as a full moon can add a beautiful glow to your night photos, while a new moon can create a darker, more moody atmosphere
Key Takeaways for Mastering Night Photography
Adjusting your camera settings to prioritize low-light sensitivity and stability is crucial for capturing breathtaking nighttime images
Understanding how to harness the power of moonlight and manipulate shadows can elevate your nighttime portraits and landscape photography to new heights
Experimenting with different compositions and techniques, such as long exposures and light painting, can help you unlock the full creative potential of night photography and develop a unique visual style
Shooting for the Stars
The right night photography settings are not just about capturing an image, but about bottling the magic of the universe in a single frame.
Emily J. Miller
Bringing it all Together: Mastering Night Photography
As we’ve explored the world of night photography settings, it’s clear that capturing the magic of the night sky requires a combination of technical skills and creative vision. From adjusting your camera settings for moon photography to employing low light portrait photography tips, the key to success lies in understanding how to balance light, composition, and timing. By mastering these elements, you’ll be well on your way to taking stunning nighttime photographs that evoke a sense of wonder and awe in all who see them.
So as you venture out into the night, camera in hand, remember that the true art of photography lies not just in the technical aspects, but in the ability to see the world in a new and unexpected way. Don’t be afraid to experiment, to try new things, and to push the boundaries of what’s possible. With practice, patience, and a willingness to learn, you’ll unlock the secrets of night photography and discover a whole new world of creative possibilities – one that’s full of beauty, mystery, and endless inspiration.
Frequently Asked Questions
What are the best camera modes for capturing star trails in night photography?
For capturing star trails, I swear by Manual mode – it gives you total control. But if you’re not comfy with that, try Shutter Priority mode, it’s a great alternative. Set your shutter speed to around 20-30 seconds and let the camera work its magic.
How can I reduce noise in my low-light photos without compromising image quality?
To reduce noise in low-light photos, try using a lower ISO or enabling noise reduction in your camera settings. You can also experiment with longer exposures or shooting in RAW format to capture more image data and minimize noise.
Are there any specific lens recommendations for nighttime photography, especially for capturing wide-angle scenes?
For wide-angle nighttime shots, I swear by lenses with a focal length between 10-24mm. They let you capture the vastness of the night sky, and some great options include the Canon EF-S 10-22mm or the Nikon AF-S 14-24mm – they’re workhorses for any nighttime photography enthusiast.